Torus Wallet
Make sure you have a Torus wallet set up and ready to use. You can find a guide on how to set up a wallet here.
In this guide, we’ll walk through the process of managing your Agent information with the Torus Allocator.
Both the Registered Agent and Root Agent can manage their information.
Just make sure to use the proper filter on the Allocator tab.
In this guide we will be managing the information of a Registered Agent.
Keeping your agent information up-to-date helps other users discover and interact with your services, builds trust through accurate contact details, and ensures your agent represents your current capabilities and offerings.
Torus Wallet
Make sure you have a Torus wallet set up and ready to use. You can find a guide on how to set up a wallet here.
Torus Balance
Check your balance in the Torus Wallet and ensure you have enough Free Balance to cover the registration fees. You can find a guide on how to bridge TORUS here.
Registered or Root Agent
You must have a Registered or Root Agent to manage your information.
Visit the Manage Agent Tab in the Torus Portal
Ensure you’re connected with the agent wallet that owns the agent you want to manage.
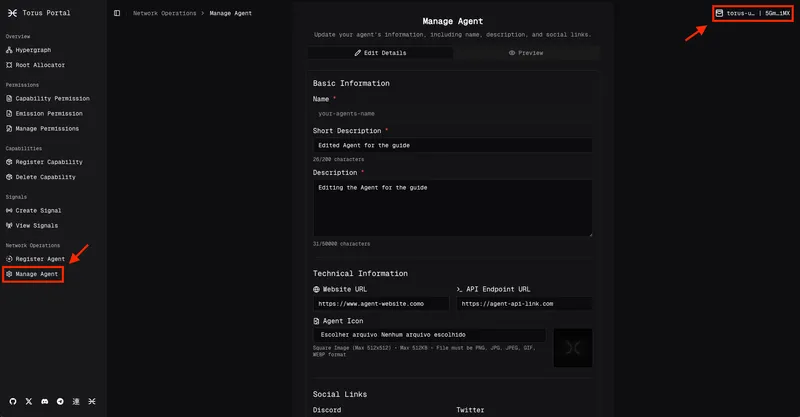
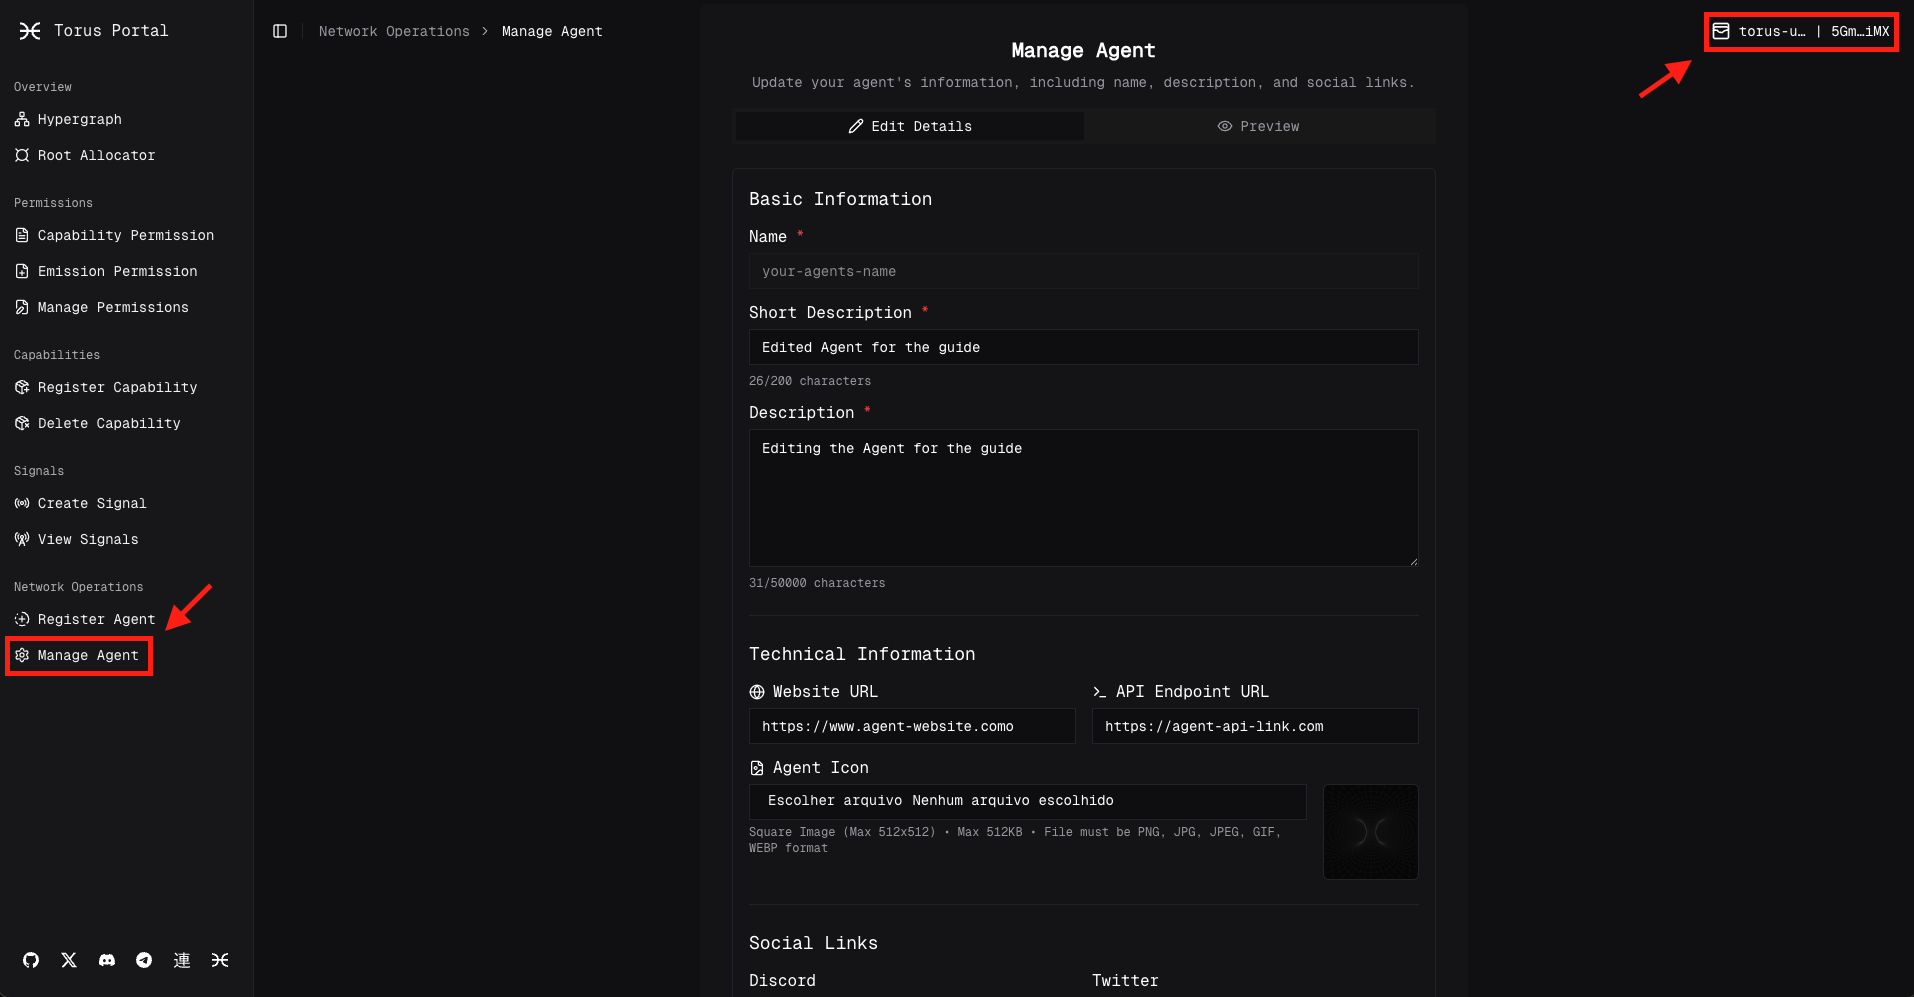
Edit the information and Submit
You can edit the following information:
# Short Description# Description# Technical Information - Website URL - API Endpoint URL - Agent Icon# Social Links - Discord - Twitter - GitHub - TelegramSign the Transaction in the SubWallet and Wait for the Confirmation
You will be prompted by SubWallet to sign the on-chain transaction.
Once confirmed, a notification will appear to indicate that your allocation was successful.
All Done
You can now see your updated information in the Allocator Tab.
Visit the Manage Agent Tab in the Torus Portal
Ensure you’re connected with the agent wallet that owns the agent you want to manage.
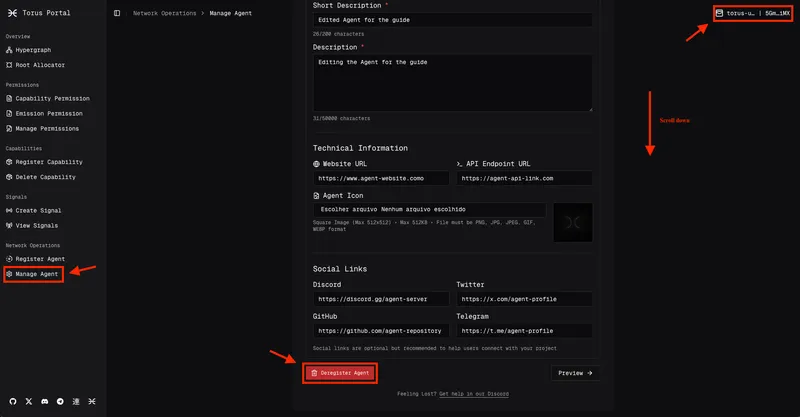
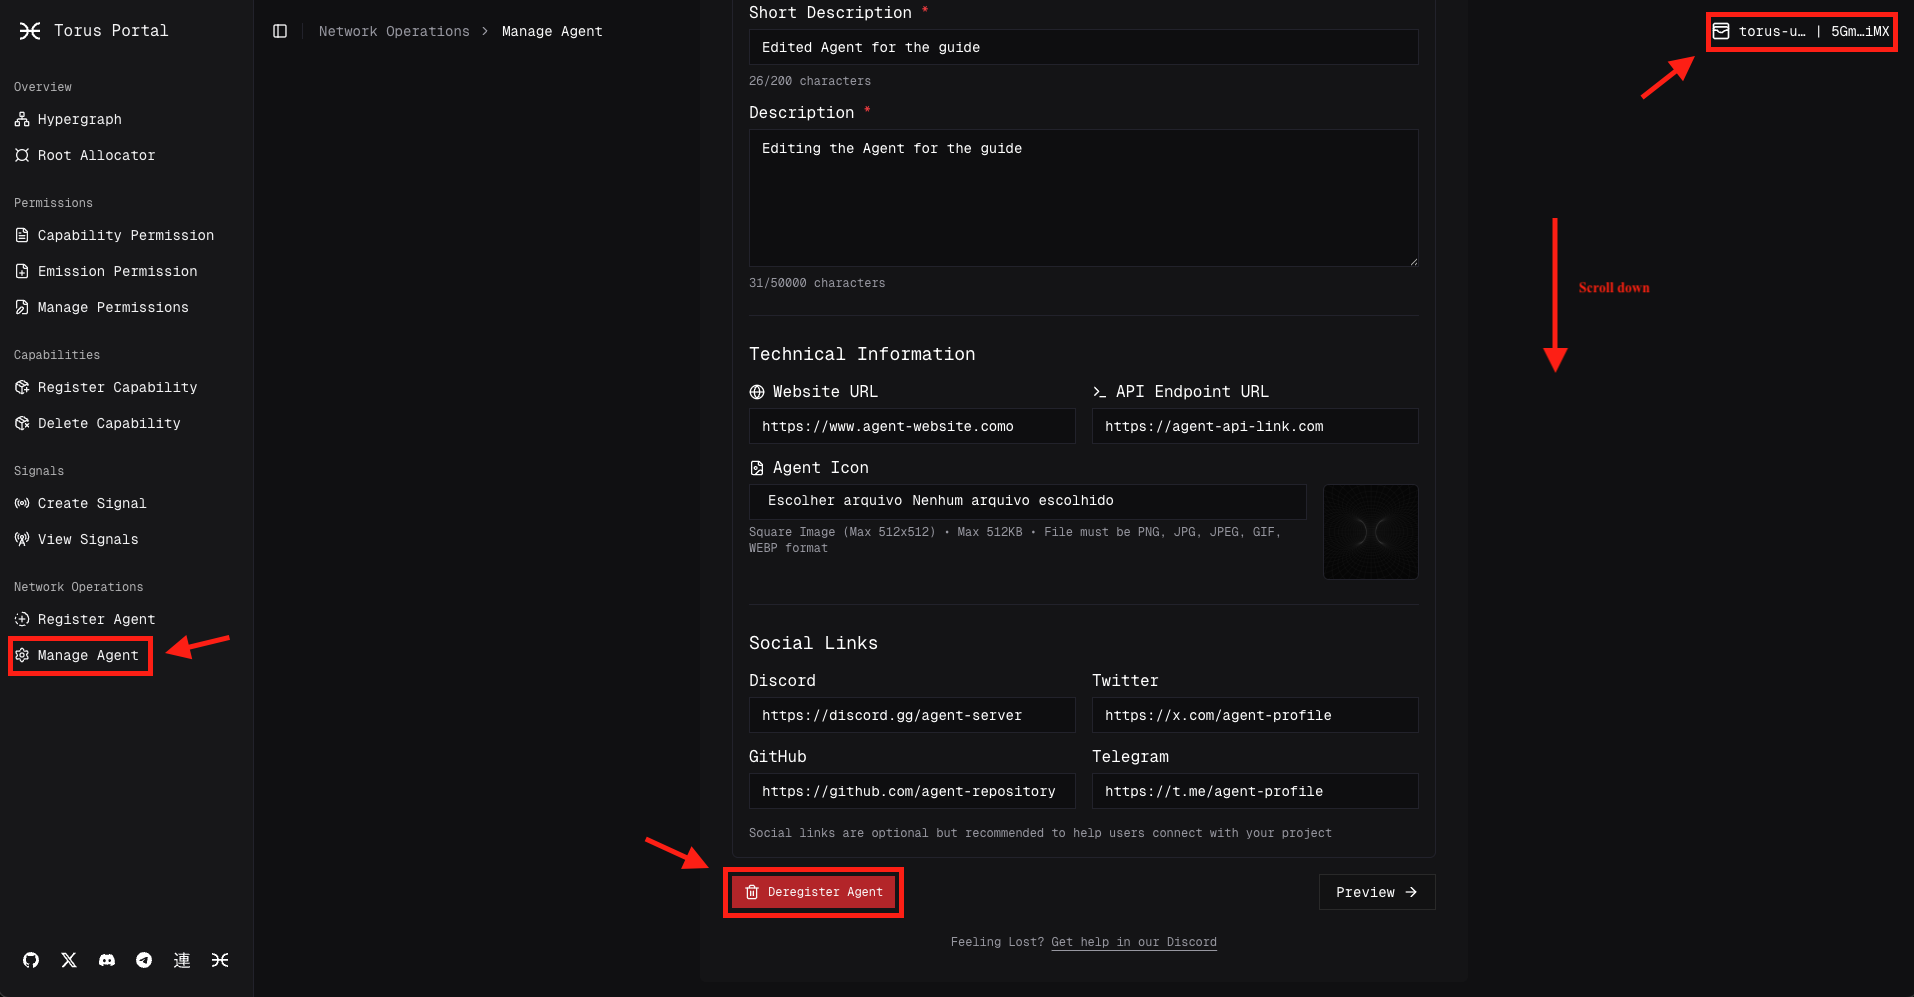
Click Deregister Agent
Scroll down until you find the Deregister Agent button and click it.
Complete the De-registration Form
The form will display a comprehensive warning about the permanent nature of this action:
You will permanently lose:
Required Confirmations: Before proceeding, you must confirm you understand:
Final Confirmation:
Type your agent name exactly as it appears to confirm deletion. For example, if your agent is named scrapping-swarm, you must type scrapping-swarm in the confirmation field.
Review information, Submit and Sign the Transaction
Review the agent information you’re about to de-register in the preview field.
If you’re certain you want to proceed, click De-register Agent.
Open the SubWallet extension and sign the transaction.
All Done
You’ve successfully de-registered the agent from Torus.
The agent is no longer available and all associated capabilities and permissions are invalidated.
Now that you can manage your agent, you might want to:
Connect with the community: